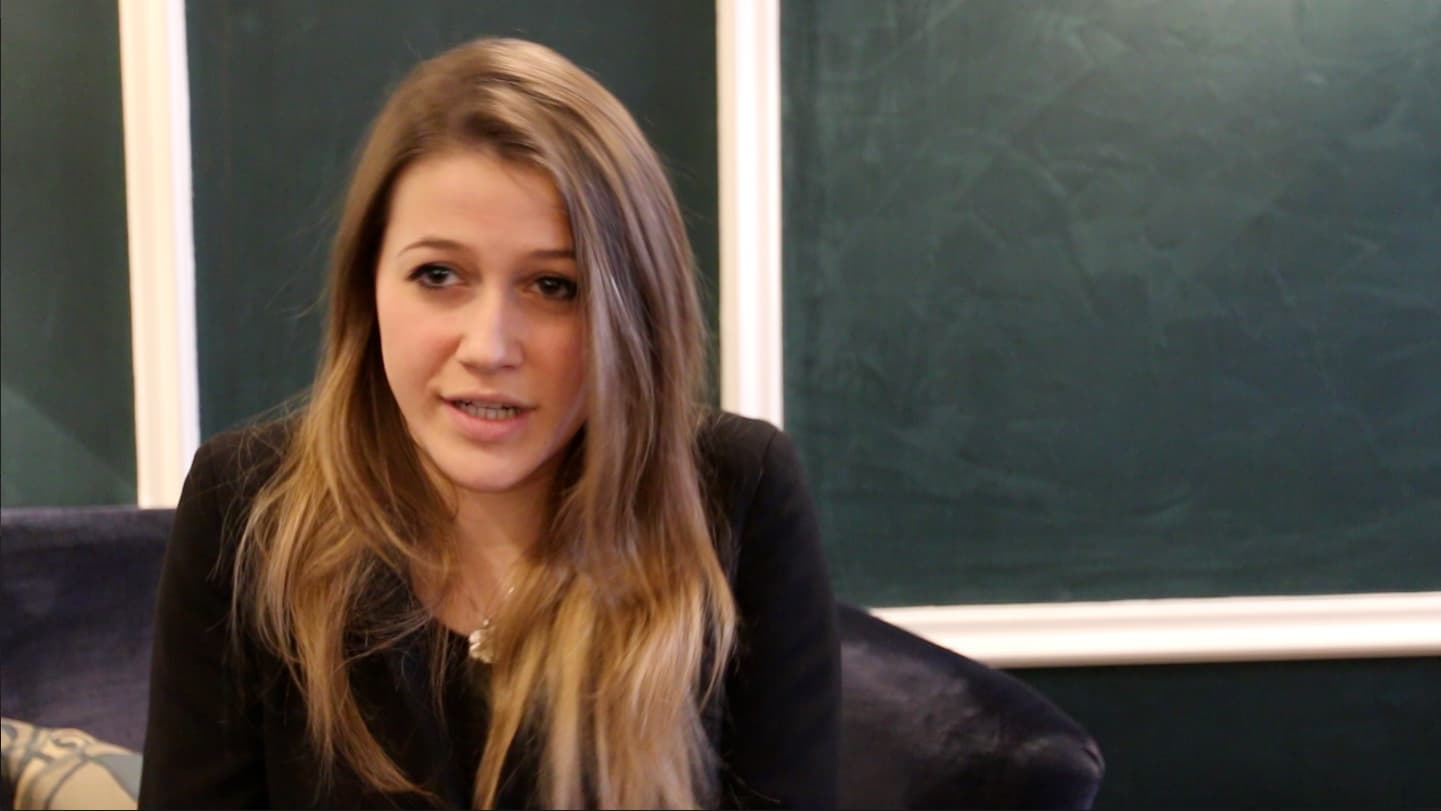
Make sure your White Balance is correct and if you are shooting interviews concentrate primarily on skin tones. Try to make sure that they are not too red / orange or not too blue / cold. Minor changes can be done in post, but DSLR footage doesn’t offer too much flexibility.
Try to get a better lens for shooting interviews. If you’re thinking about a zoom: either a high-quality 24-70mm, f/2.8 zoom or an 18-55mm or a 17-50mm, f/2.8 zoom. It can be Canon or Sigma. (Prices starting at £200.) Alternatively, a 50mm, f/1.4 lens is great for interviews. (Prices starting around £120.) These lenses will offer you much sharper images than the one you currently have.
Ideally shoot interviews at f/4 or f/5.6. This will make the speaker sharper and increase your depth-of-field a bit so that if they move back and forth you wouldn’t lose focus. F/4 if it’s a darker room, f/5.6 if there is more light.
Avoid using autofocus. As your subject moves, autofocus will find and lose them. If they turn away or just a bit sideways, AF can jump to the background. It leads to dodgy focus which can make the footage unusable.
AF lost the subject who is blurred, the background is sharp
If possible use an external, at least 7” LCD monitor with focus peaking to help you focus manually.
With a cropped sensor DSLR try not to shoot above ISO 800 to avoid noise.
Sound
Tell your subject to wait a second after you’ve asked the question.
Do not react with your voice to anything your subject says during the interview. Even if it’s strange, don’t laugh with them. Should they ask a question, do not answer it. Wait.
Once they finish, keep silent for at least a second.
Whatever the mic you’re using, try to have it as close as possible to the speaker. You can put it on a little stand just outside your frame. The point is that you should be able to keep the sound amplification as low as possible. The farther away the mic is, the higher the amplification will be which increases noise and the background/ambient noise as well.
Ideally use a lav mic for interviews. It doesn’t need to be wireless if your subject is static.
Composition
Leave enough headroom.
Do not have the eyes or the body of the speaker in the middle of your frame either horizontally or vertically. Rule of thirds is useful to observe.
Sit on the ‘far’ side of the camera so that the speaker would look across the frame. If the speaker is on the left, they should look camera right, if on the right, they should look camera left.
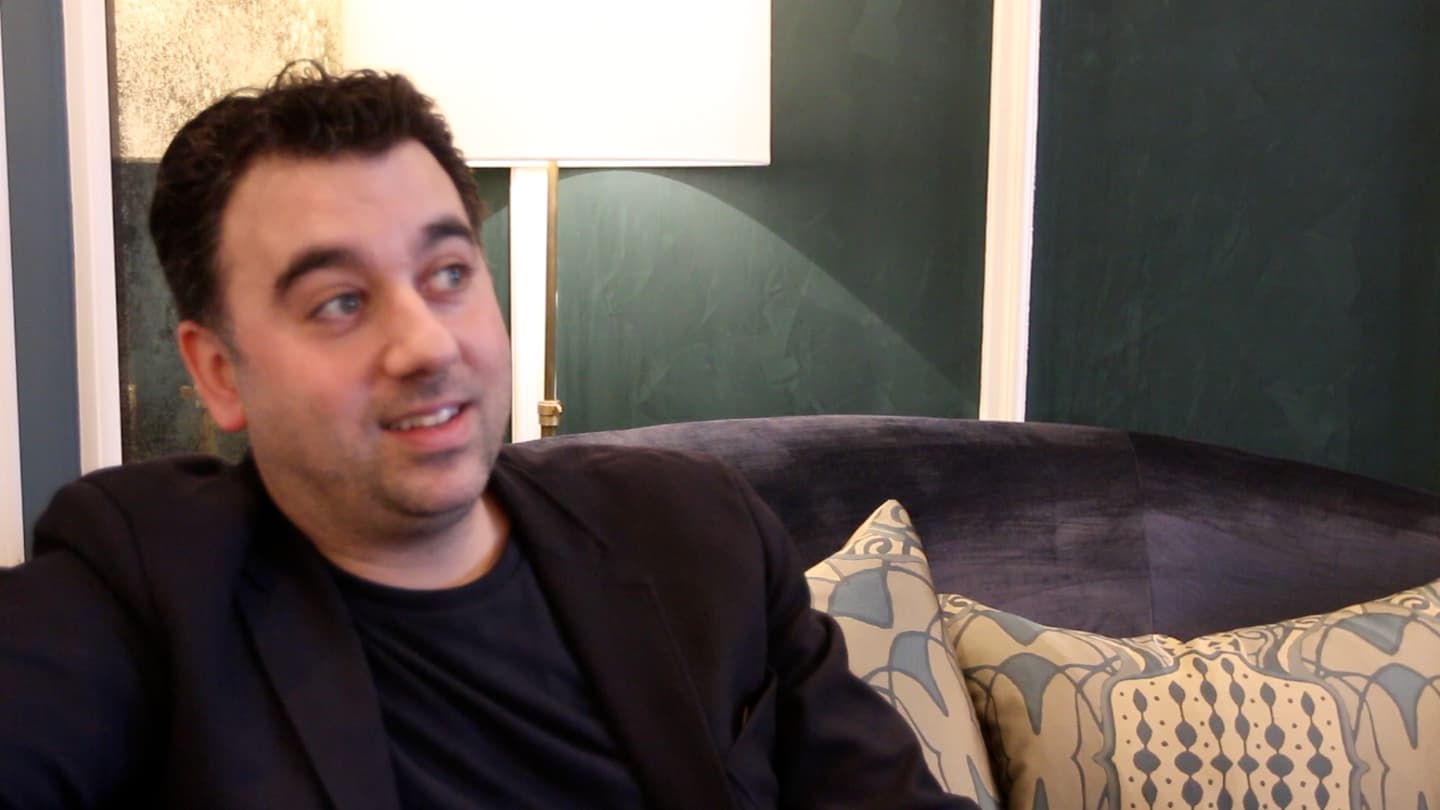
Subject looking in the wrong direction. Large negative space on the right.
If you have several speakers, change their positions between the interviews and also adjust the size of the shot slightly. This will make editing a lot easier. One person sitting right, looking left, the other sitting left, looking right. One person in a bit tighter MS, the other in a wider MS.
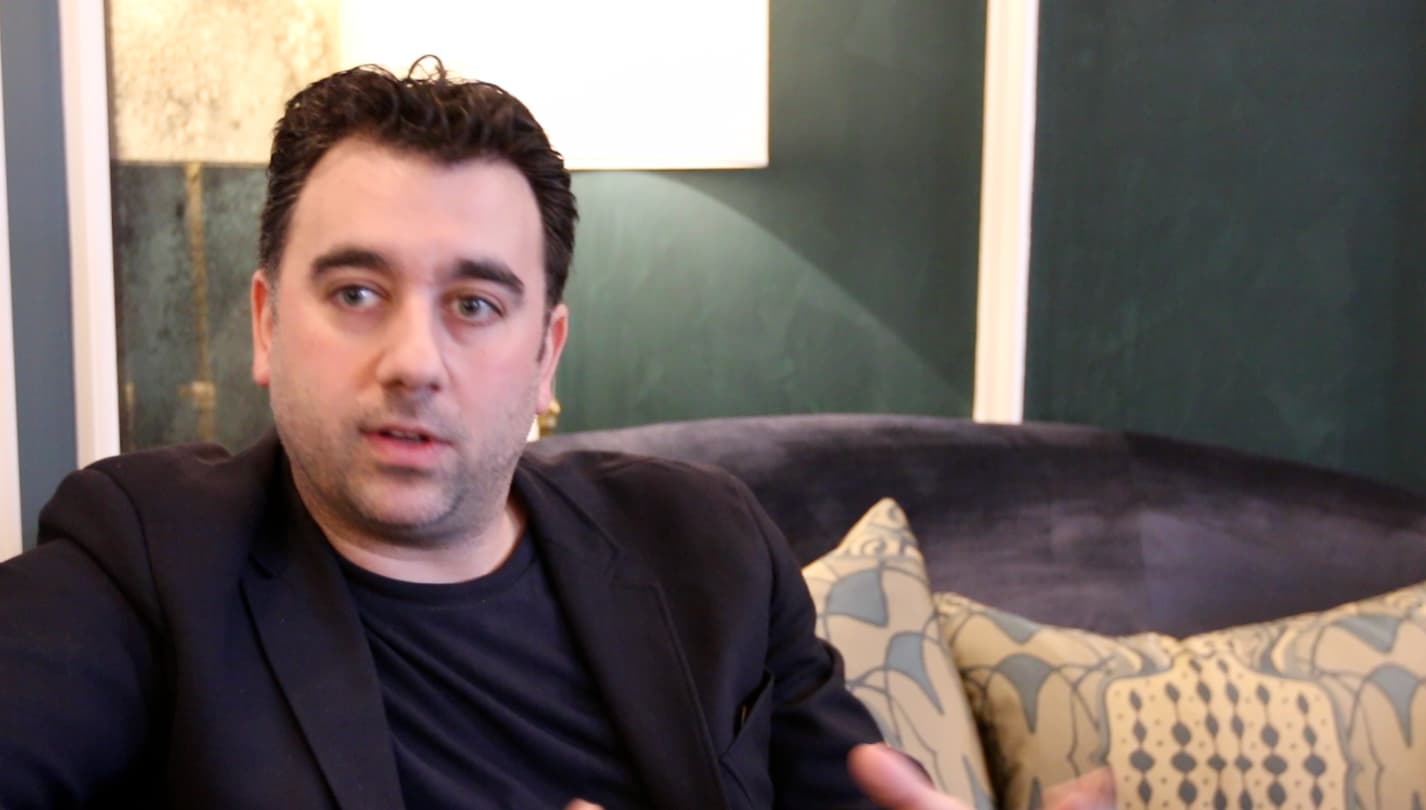
Avoid distracting items in the background, help the speaker stand out against the background. Ideally do not have them sit in front large light sources, like a big, bright lamp in the background, a large window or a highly reflective surface, like a big painting in a glass frame.
Subject looking in the wrong direction. Large negative space on the right.
Have enough separation between your subject and the background so that the background would become slightly out of focus.
Make sure your camera is level.
Balance your composition. Do not leave your frame emtpy, full of a large, negative space.
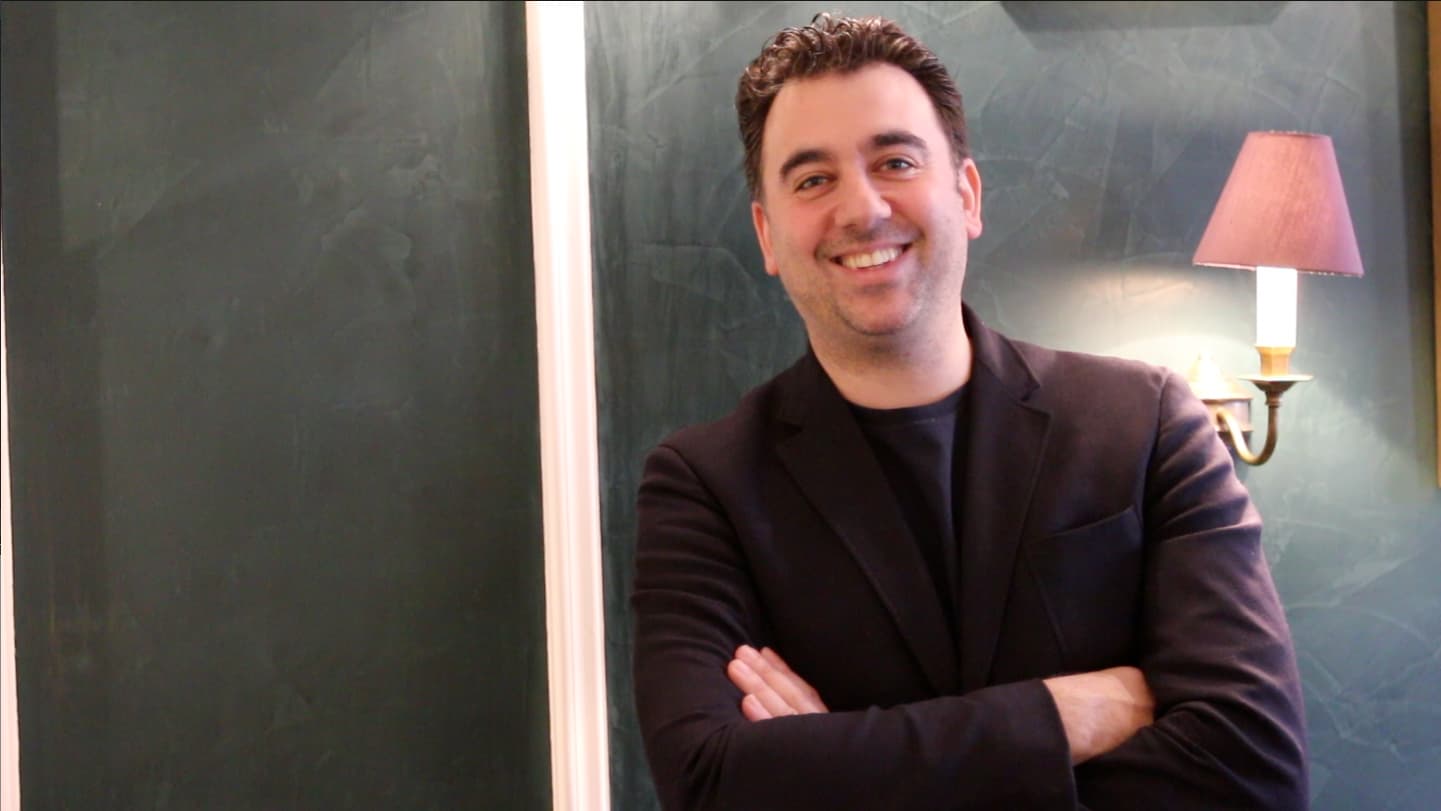
Camera not level and large, negative space on the right. Head and wall lamp are both on the right.
Lighting
If you’re using available light, try to find a place that gives you something similar to a traditional portraiture lighting setup: one side of the face should be more or less brighter than the other. Usually the cheek further away from the camera.
Watch out for White Balance, make sure you set it right for the light source that illuminates your subject. This is especially important if the lighting is mixed, e.g. your subject is sitting next to a window (daylight) in a room illuminated by tungsten/halogen/fluorescent lights.
With current LED fixtures as well as fluorescent lights (also all the energy saving bulbs) be aware that they might flicker. Double check your video for signs of flicker.
MOST COURSES AVAILABLE BOTH AS ONLINE AND IN-PERSON WORKSHOPS
We use cookies to ensure that we give you the best experience on our website. If you continue to use this site we will assume that you are happy with it.