A systemic look at equipment advice and gear recommendations for DSLR and Mirrorless videographers
“What should I buy?”, is the question my students ask the most often. Equipment advice is what many budding videographers and vloggers look for even before our workshops, but almost certainly afterwards. Buying or upgrading your videography or photography gear (like any other gear) puts everyone under great pressure. What’s overkill, what’s good enough and what if you are underestimating your needs?
Brands and models change faster than I can update this post. What follows is not about the actual brands listed, but the KINDS of accessories you should be looking for. It’s meant not as a comprehensive list, but as a short guide to videographers who already own a camera facing kit choices that appear overwhelming. Especially after you’ve watched five youtube experts with ten conflicting opinions.
Equipment is important. It’s your tool kit that enables you to create.
What’s also important is to understand that you are always investing into an ecosystem of gear. And before you start on any journey it’s useful to have a map and plan how you are going to get to your destination.
For videographers that means that you need a systemic view from the outset.
The task at hand, such as
shooting an interview or a testimonial, doing event videography, shooting a product video or a travel vlog
doesn’t change.
What changes are only the actual brand and model names and numbers. What follows are very budget-conscious recommendations. Please, don’t get fixated on the brands and items mentioned. They are intended as starting points for your own research (something that I am happy to help with).
Use this post to realise the KINDS of kit items you will need and as a guide to navigate the minefield of equipment purchase.
On this page:
Click on the titles to jump to the relevant section and read more on specific topics
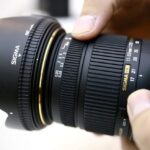
If it is and your camera has it, consider using native lenses even if you could use lenses from other brands with adapters. If AF is not very important to you or if you are comfortable focusing manually, you can get amazing cine-style lenses.
Question #2
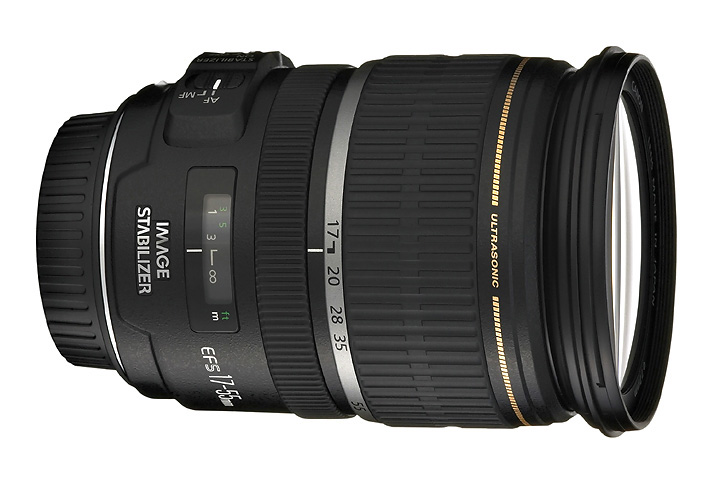
Zoom or prime?
Depends on the nature of videos you’re producing and speed with which you need to shoot.
Pros of prime lenses:
Relatively small, lightweight and inexpensive. Meaning: a prime lens will be all of these compared to a zoom lens of similar optical quality.
Better in low light thanks to apertures larger than f/2.8 (f/2, f/1.4 or even f/1.2).
Prime lenses will force you to move in order to change perspective and composition. That is the key to becoming a photographer.
Pros of Zoom lenses:
Flexibility of angle-of-view. You can easily reframe your shots without moving physically.
Carrying less gear. For many jobs one zoom lens might suffice.
Saving time. With some jobs (where you are rushed) and in some environments (snow, rain, dust) not having to change your lens is a significant relief.
Cons of prime lenses:
Carrying around more gear.
Time needed to swap lenses can be an issue if you need to work very fast. E.g.: wedding videography.
In an windy, sandy, damp or very cold outdoor environment changing lenses increases the risk of getting dirt and moisture inside the camera body.
Cons of zoom lenses:
Cheap zoom lenses do not perform equally well at all focal lengths.
What you save in size, you might lose in image quality.
With medium-sized apertures around f/4 you might lose the ability to shoot in low light at low ISOs.
A zoom lens with a variable maximum aperture is a pain to work with in manual mode. Every time you zoom in or out you might need to change your exposure settings.
Generic considerations:
If you plan on shooting lots of hand-held video, look for lenses that have “IS”, “OS”, “VR”, “OIS” or some similar acronym on them. These stand for Image Stabilisation, Optical Stabilisation, Vibration Reduction, Optical Image Stabilisation – they all help a great deal with reducing camera shake. The switch to turn it on or off is usually on the body of the lens. On some mirrorless cameras the body itself offers stabilisation and then you need to enable it in the camera’s menu.
If your camera offers auto-focus for video certain lenses will be physically faster than others offering you a distinct advantage for video. Sometimes these lenses will say “IF” (Internal Focusing) or if it’s a Canon lens “STM” (Silent Motor).
It’s also good to keep in mind that a lens that’s great for stills photography might not be ideal for videography. And vice versa: a cine-style, manual focus lens might be great for a certain genre of videos but not for stills.
If you are using a mirrorless system you can almost certainly get adapters to fit non-native lenses on your camera. This is an amazing way to use your existing lenses! Just keep in mind that even with so-called smart adapters your AF speeds might be significantly reduced (especially for video) compared to non-native lenses.
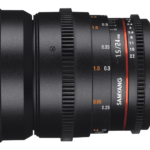
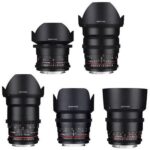
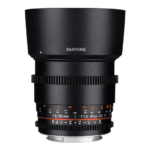
Samyang (or Rokinon) https://cvp.com/product/samyang_7410_vdslr_lens_kit_3 It’s the same lens under different brand names. They make fully manual and relatively inexpensive Cine lenses. These are all prime lenses with large apertures (T/1.5), a continuous, de-clicked aperture ring and a housing that allows the use of follow-focus equipment.
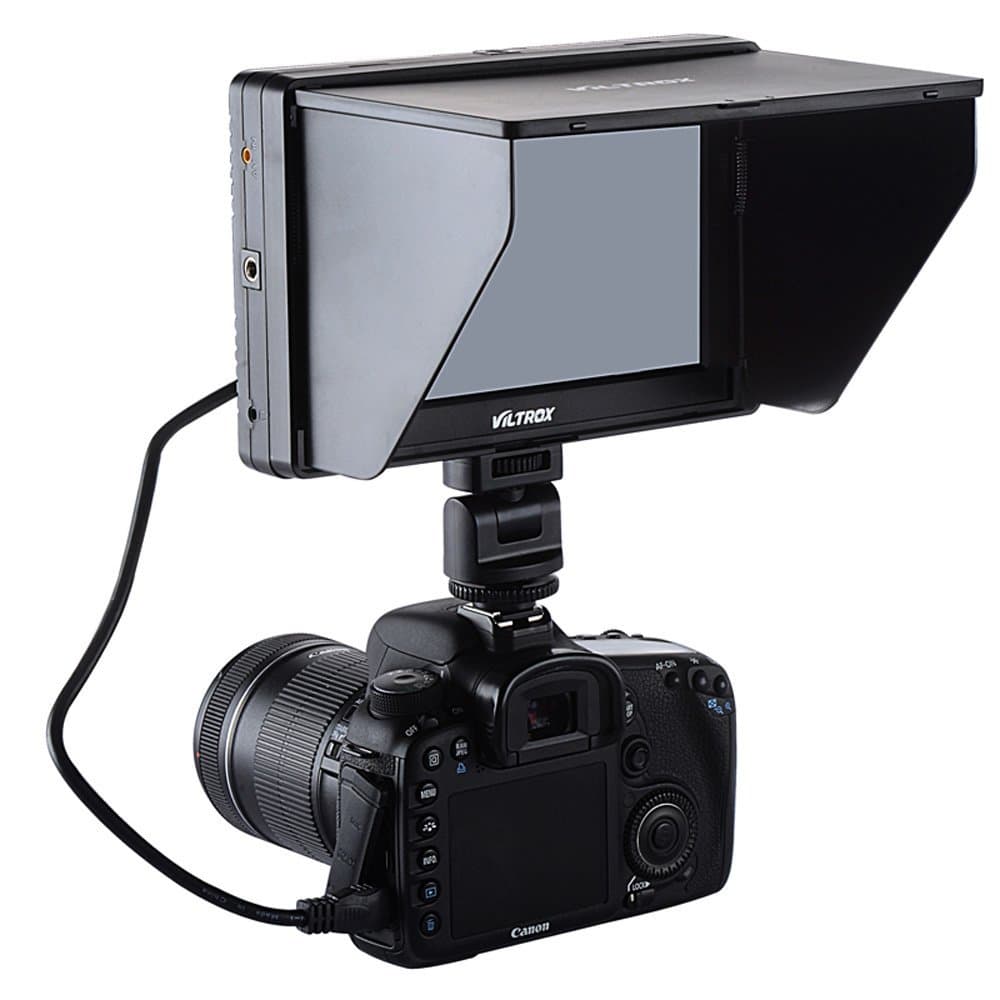
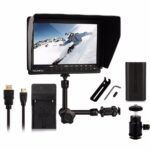
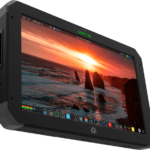
An external monitor not only offers a larger, 5″ or 7″ screen as opposed to the 3″ display of a typical camera. It should also have exposure and focus assist functions that your camera may not have. Look for these!
Functions assisting exposure: live histogram, zebra, false colours
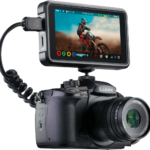
Incredibly versatile external monitors that also act as a very high quality recorders are made by Atomos, e.g. the Atomos Ninja V: https://www.atomos.com/ninjav
SD Cards
A fast enough SD card (other card types are being developed, always check your camera manual for the recommended card type and speed)
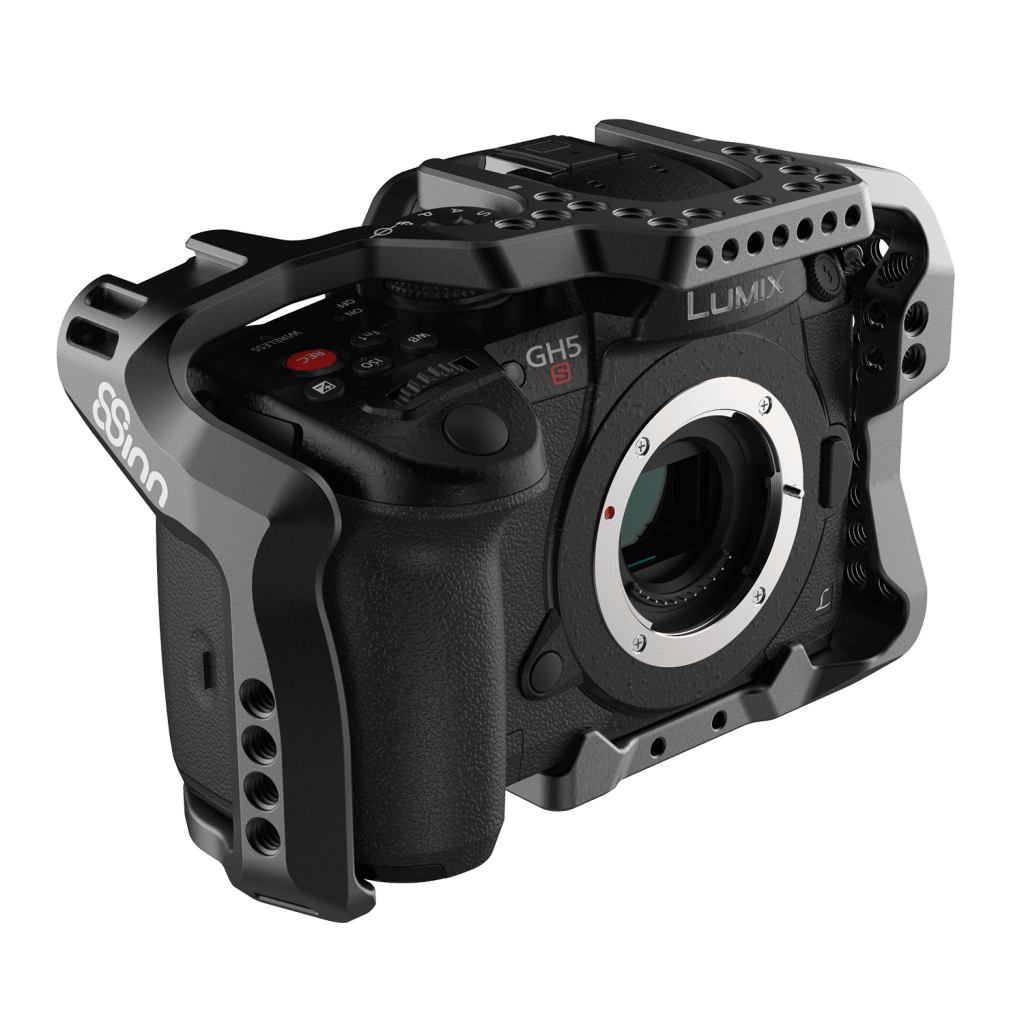
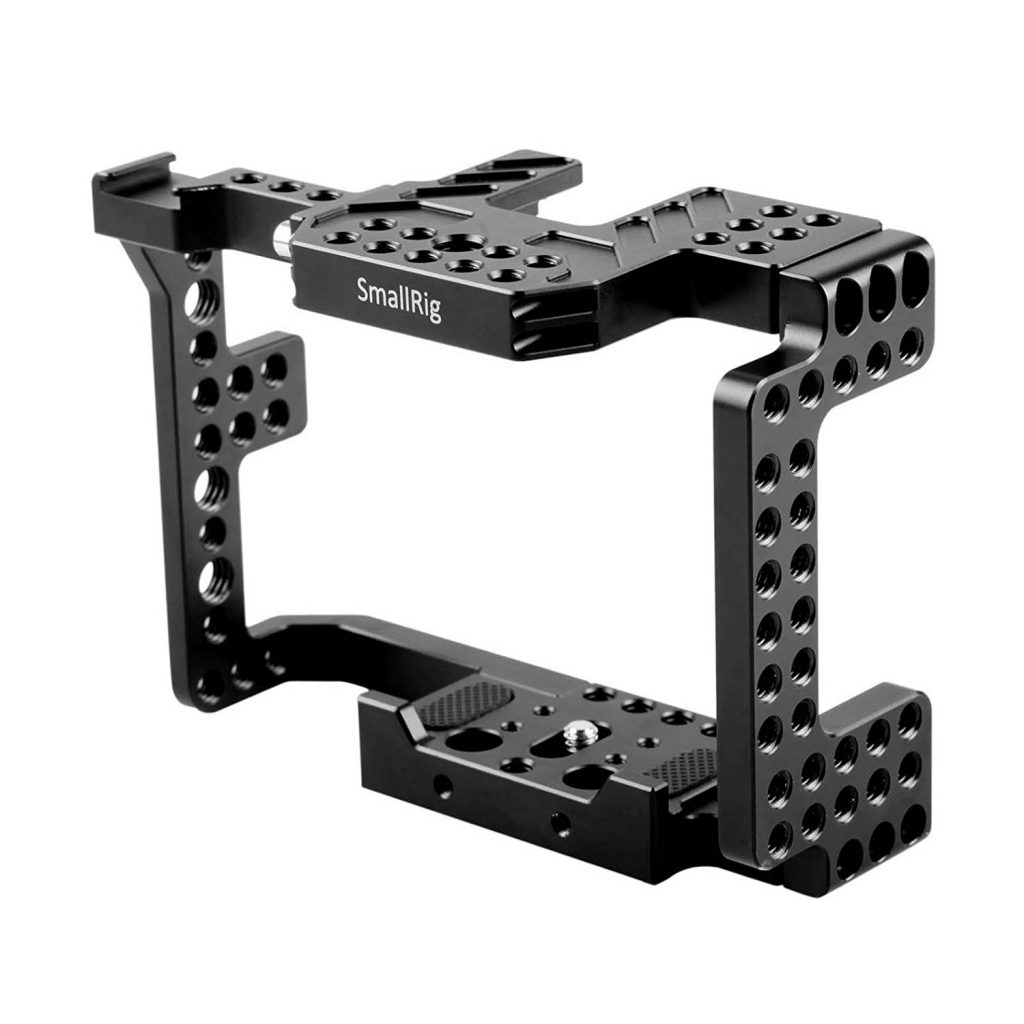
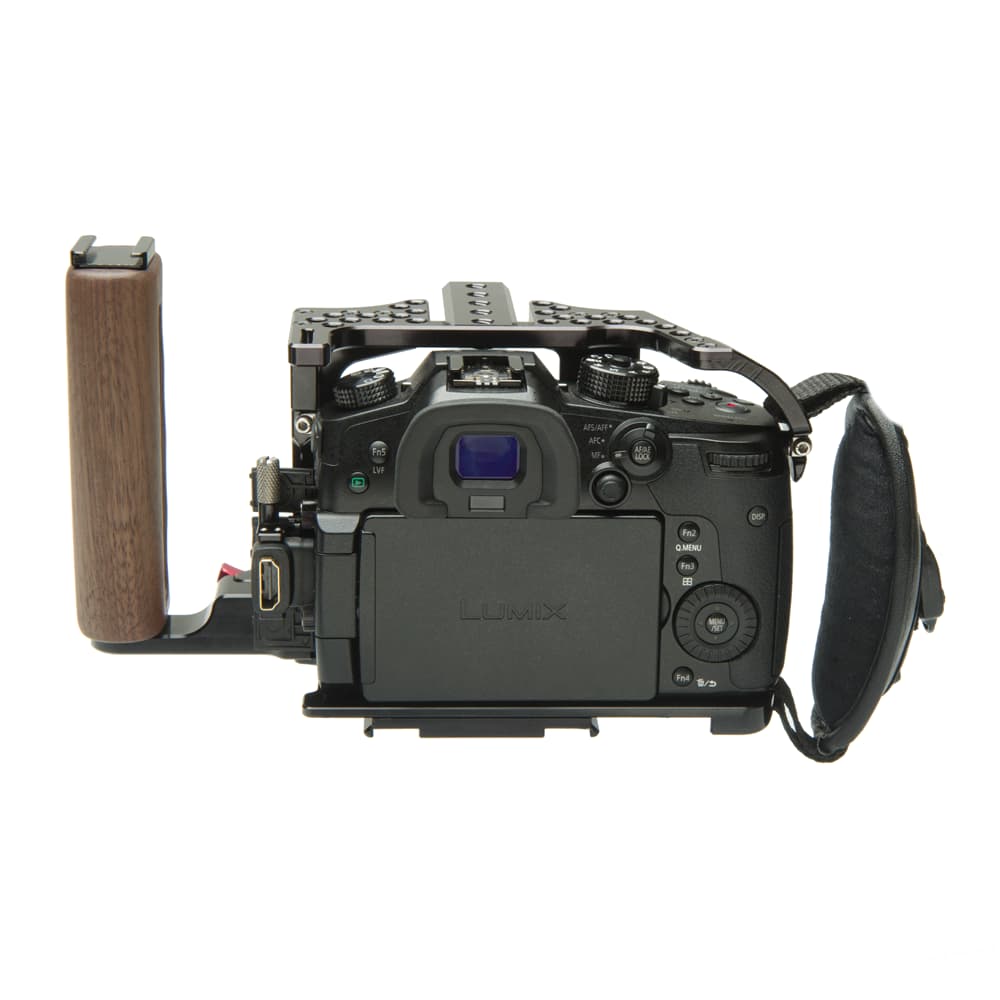
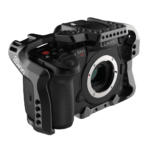
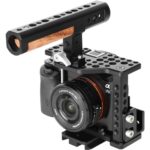
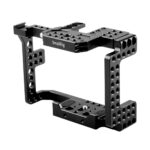
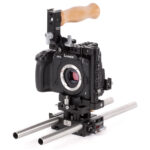
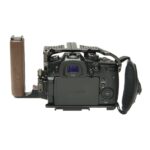
A cage around the body of the camera is great if you have multiple accessories that you need to attach ergonomically to your equipment (e.g. both an LCD monitor and a microphone). A good cage will allow you to handle your camera with much greater ease.
There are lots of small and large brands out there. Some will make rigs and cages just for a few cameras, others offer a huge selection of accessories.
Eventually you’ll get tired of shooting everything handheld even if you’re camera has decent image stabilisation built-in.
A good (!) tripod allows you to produce static shots and smooth pans and tilts. These are old-fashioned and extremely versatile 2-dimensional camera movements. The camera only moves along the x and the y axes.
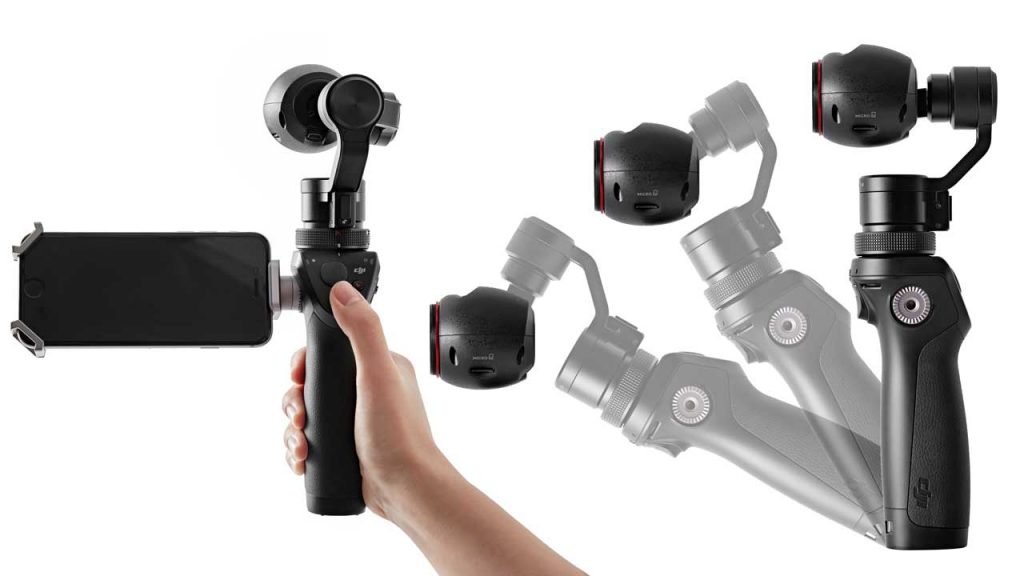
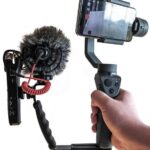
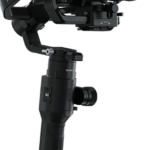
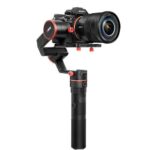
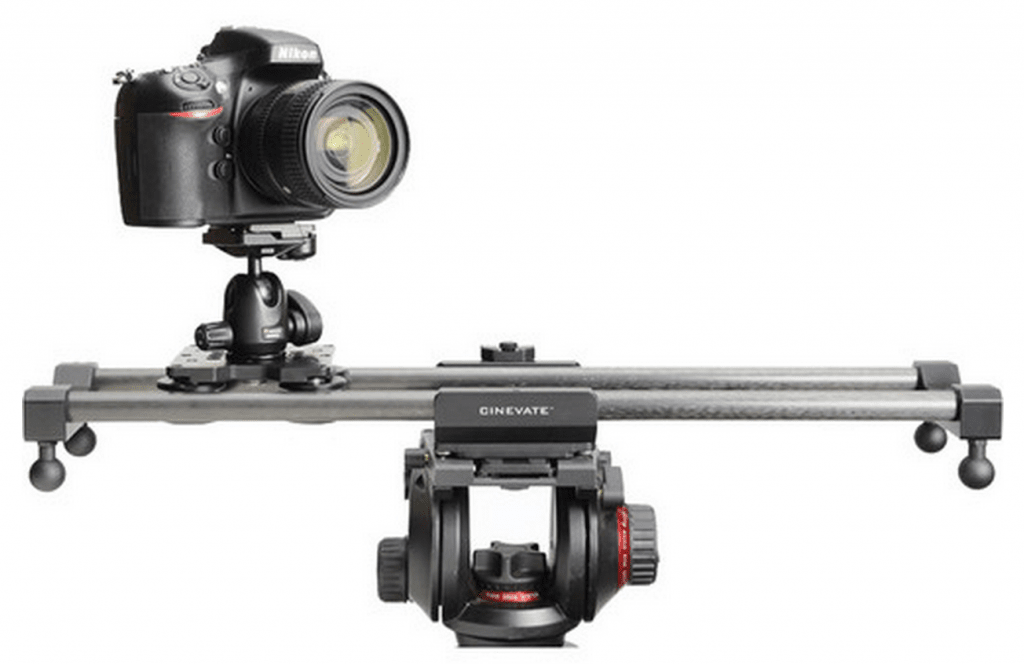
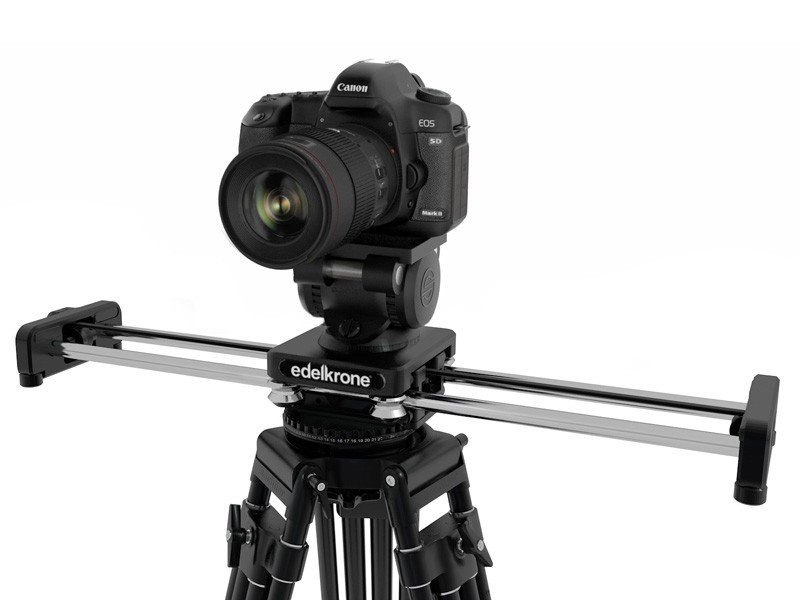
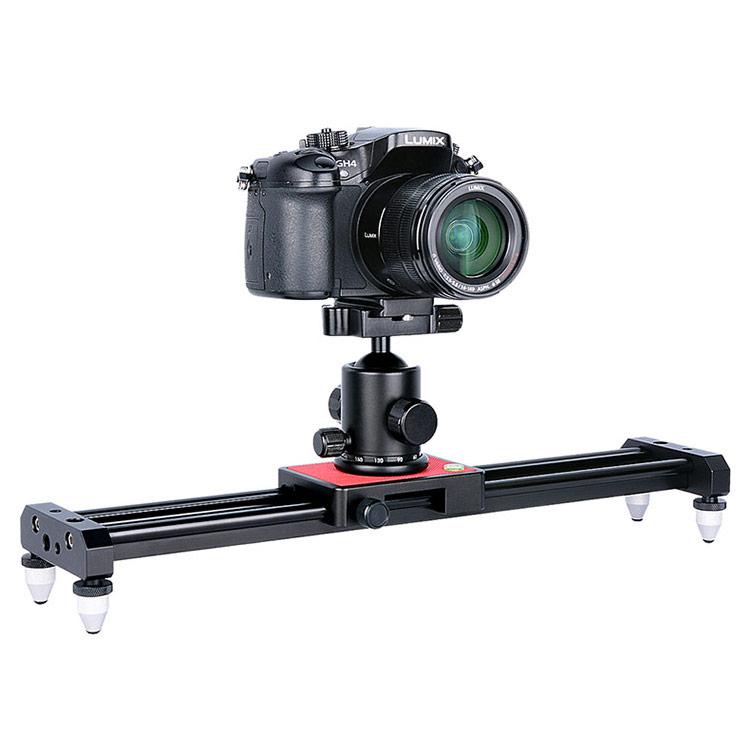
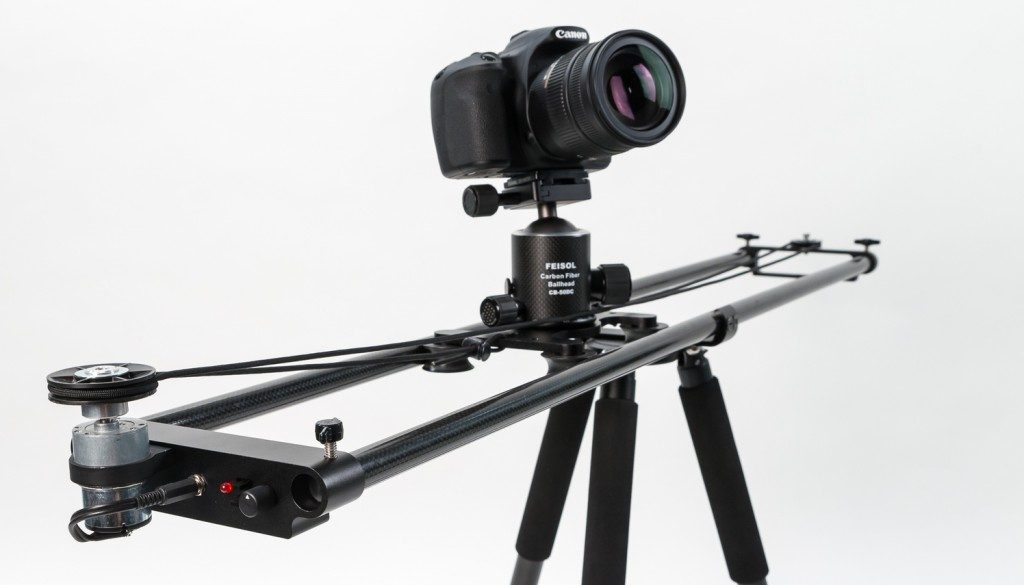
Gimbals and sliders enable smooth, 3-dimensional camera movements – they allow you to ‘discover’ space.
Tripods:
Manfrotto makes excellent, affordable and durable tripods.
But there are plenty of other brands out there, make sure you research the market properly before you buying a slider.
Take into account the weight of your gear, the length of the slider, the support it will need (a very sturdy tripod) and if possible, try it out. See if the movement is smooth and in case you’ll be recording sound check out how much noise it makes.
Lights
A great place to look at different kinds of lights, cameras and accessories is cvp.com.
LED panels
When looking for one make sure you can get the accessories that you will need, e.g. a softbox with a grid or barn doors. Watch out if the LED light you’re getting is bi-colour or dimmable.
Don’t forget about stands.
There are two brands that offer pretty solid, budget lights.
Aputure
LED light: https://www.aputure.com/products/ls-c300d-1
No project is over until it’s been edited and delivered. To do that you will need some kind of NLE (non-linear editing) software.
If your project is very simple, requires just minimal assembly and perhaps just adding a few graphics and one or two soundtracks (narration, background music) there are simple programmes that will do the job.
Consider buying screencasting software good for basic editing like Camtasia (Windows and Mac) or Screenflow (Mac only).
If your project is more complex or you’re simply interested in editing look into:
DaVinci Resolve (free, yes, it’s a complete, professional, amazing NLE package that is complete free, Windows and Mac)
Adobe Premiere Pro (subscription-based pricing, Windows and Mac)
Final Cut Pro X (one-off purchase price, Mac-only)
Peer-to-peer hire & used equipment
Peer-to-peer camera hire is a great way of testing equipment for a few days before you decide to invest hundreds and thousands of pounds into your own equipment.
Buying second-hand equipment is safer than ever and is also a great way of building up your kit.
All these sites usually offer a 12-month warranty for used gear and are also good to keep in mind when you decide to trade in your old gear for something new:
For the best ever in-depth reviews, explanations and an informative newsletter: dpreview.com.
For occasional good deals, trade-ins and a weekly, short newsletter: parkcameras.com.
For excellent and accurate in-depth reviews you can always check out Ken Rockwell’s site.
For outstanding deals and a first-rate brick and mortar store where you can get your hands on almost any camera, a visit to Wex Photo and Video is never a waste of time.
You’ll also find a number of related posts on ExposureWorks.
For a few introductory thoughts about ways to think about DSLR and Mirrorless cameras before you start investing your hard-earned savings, read this article. For a few ideas about why mirrorless cameras are better suited for video work than DSLRs, have a look at this post.
You will find a comparison of the video-related features of popular mirrorless cameras such as the Sony A7 series, the Lumix GH series and the Fujifilm X-T cameras in this article. The comparison lists all kinds of gear for budget-conscious videographers.
We use cookies to ensure that we give you the best experience on our website. If you continue to use this site we will assume that you are happy with it.